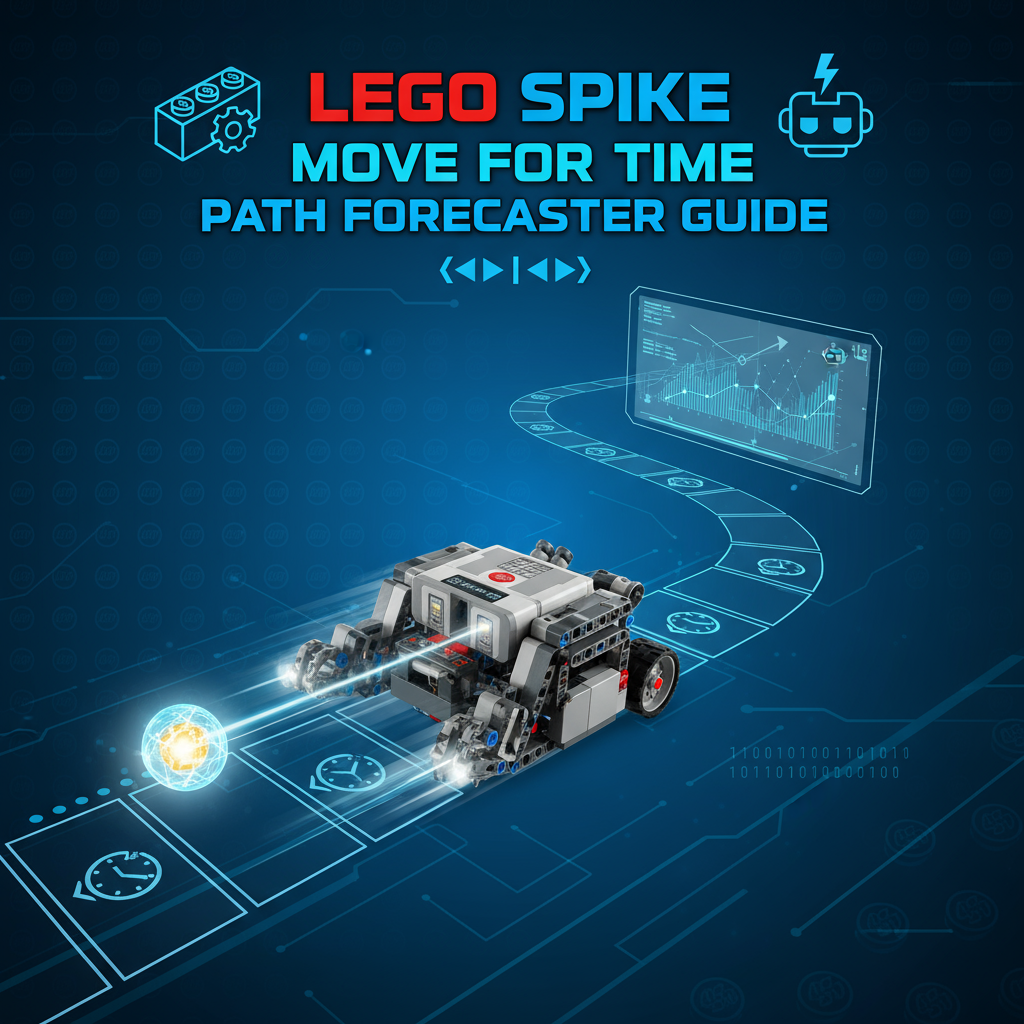
Executive Summary
The LEGO SPIKE move_for_time Path Forecaster addresses a unique challenge in robotics education: helping students understand and predict what happens when robots move with steering for specific time durations. Unlike degree-based commands that guarantee positional outcomes, time-based motion creates paths that vary with velocity, steering, and even battery charge—making prediction and planning essential skills for success.
What This Tool Provides: Real-time visualization of timed curved paths, distance and arc length estimates for various time durations, loop pattern generators for repeated shapes (squares, polygons), and Python code templates with optional repetition structures ready for classroom deployment.
Target Users: Educators teaching choreographed robot behaviors (grades 5-12), students creating timed performances or demonstrations, competition teams implementing complex movement routines, and anyone exploring the relationship between time, velocity, and distance in robotics.
Core Benefit: Eliminates guesswork from timed movements by showing predicted paths before deploying code, dramatically reducing trial-and-error cycles and helping students develop intuition about robot dynamics.
Key Features Snapshot
- Arc Path Visualization: See the curved trajectory your robot will trace for any combination of time, steering, and velocity
- Distance Estimation: Calculate approximate straight-line distance and actual arc length traveled
- Time Duration Control: Adjust motion duration from 100ms to 10 seconds with live path updates
- Loop Pattern Generator: Create squares, triangles, and custom polygons with automatic repetition code
- Velocity Impact Display: Understand how velocity affects both speed and power characteristics
- Python Code Templates: Export complete, annotated code including loop structures and safety documentation
Feature Tour: Planning Time-Based Navigation
Time Duration Controller
The primary interface element is a time slider (100ms to 10,000ms) that defines how long your robot executes the movement command. Unlike degree-based commands that stop at precise rotational targets, time-based commands continue for the specified duration regardless of distance covered.
Duration Display Modes:
- Milliseconds (100-999ms): Precise for short movements and quick adjustments
- Seconds (1.0-10.0s): Intuitive for longer movements and choreographed routines
Live Path Preview: As you adjust duration, the visualization extends or contracts the arc path, showing exactly where your robot will be at the end of motion. Grid overlays help estimate distances in centimeters.
Common Duration Benchmarks:
- 500ms: Quick adjustment movements, brief curves
- 1000ms (1 sec): Short navigation segments, turns
- 2000ms (2 sec): Medium-distance straight or curved paths
- 5000ms (5 sec): Long-distance traversal, extended curves
- 10000ms (10 sec): Maximum duration for demonstrations, full course sections
Steering and Velocity Integration
The forecaster combines time duration with steering (-100 to +100) and velocity (0 to 100) parameters to predict complete path geometry:
Steering Effects on Timed Paths:
- Steering = 0: Straight path, distance = velocity × time × calibration factor
- Steering = ±30: Gentle arc, approximately 15° total turn over 2 seconds at velocity 50
- Steering = ±60: Moderate arc, approximately 40° total turn over 2 seconds at velocity 50
- Steering = ±90: Sharp arc approaching circle segment, ~75° turn over 2 seconds
Velocity Scaling: Higher velocities don’t change the arc’s curvature but affect how far along that arc the robot travels. At velocity=100 versus velocity=50, the robot covers approximately twice the arc length in the same time period.
Distance Estimation Panel
The tool provides dual distance metrics critical for path planning:
Straight-Line Distance: Direct measurement from start point to end point (displacement)
- Useful for determining if robot will reach target zone
- Accounts for curved path’s effective forward progress
- Example: 2-second curve at velocity 50 with steering 40 might show 20 cm straight-line distance
Arc Length: Actual distance traveled along the curved path (total path length)
- Always greater than or equal to straight-line distance
- Important for battery consumption and motor wear estimates
- Example: Same 2-second curve might have 23 cm arc length
Why Both Matter: Straight-line distance determines whether you reach destinations. Arc length affects timing, battery usage, and mechanical stress. Understanding both helps optimize paths.
Loop Pattern Generator
One of the most pedagogically valuable features is the pattern generator for repeated shapes:
Square Pattern:
- Calculates four identical movements: forward, turn, forward, turn, etc.
- Adjustable side length by varying forward duration
- Turn time automatically calculated based on robot geometry
Triangle Pattern:
- Three-segment loop with 120° turns
- Useful for demonstrating geometric relationships
- Students see connection between angles and robot motion
Custom Polygon:
- Specify number of sides (3-12)
- Automatically calculates turn angles:
360° / sides - Helps students understand exterior angle theorem through physical demonstration
Generated Code Structure:
for _ in range(4):  # Repeat 4 times for square
    # Move forward
    motor_pair.move_for_time(motor_pair.PAIR_1, 2000, 0, velocity=50)
    # Turn right
    motor_pair.move_for_time(motor_pair.PAIR_1, 850, 75, velocity=40)
Students can modify repetition count, durations, and steering values to create variations.
Python Code Export with Annotations
Every parameter combination generates corresponding Python code with extensive documentation:
from hub import port
import motor_pair
import runloop

async def timed_path():
    motor_pair.pair(motor_pair.PAIR_1, port.A, port.B)

    # Timed curved motion: 3.0 seconds
    # Steering: 35 (gentle right curve)
    # Velocity: 50 (moderate speed)
    # Estimated distance: ~36 cm straight-line, ~39 cm arc length
    motor_pair.move_for_time(motor_pair.PAIR_1, 3000, 35, velocity=50)

runloop.run(timed_path())
Smart Comments Include:
- Time duration in both milliseconds and seconds
- Steering description (gentle/moderate/sharp, left/right)
- Velocity interpretation
- Distance estimates for path planning
- Safety notes about battery voltage sensitivity
Usage Scenarios: From Choreography to Competition
Scenario 1: Creating Robot Dance Choreography
Context: Elementary STEM class is preparing a robot demonstration for parents’ night. Students want their robots to perform synchronized movements to music.
Application: Students use the Path Forecaster to design movements synchronized to a 30-second music clip:
- Intro (0-5s): Forward 2s, pause 1s, backward 2s
- Verse (5-15s): Square pattern (4 sides × 2.5s per segment = 10s total)
- Chorus (15-25s): Spinning moves (rapid steering changes every 1s)
- Outro (25-30s): Circular arc for 5s returning to start
The forecaster helps visualize each segment, ensuring movements fit performance space and timing aligns with music beats.
Learning Outcome: Students experience robotics as creative expression, not just technical programming. They learn that precision timing creates aesthetically pleasing performances.
Scenario 2: Quick Prototyping Movement Sequences
Context: Middle school robotics team needs to quickly test several navigation strategies for reaching scoring zones on a competition field.
Application: Rather than spending hours programming and testing degree-based calculations, the team uses time-based exploration:
- Strategy A: Straight 3s, turn 1s, straight 2s → visualize if it reaches target
- Strategy B: Curved approach 4s with steering 25 → check clearance around obstacles
- Strategy C: Sharp turn 1.5s, straight 3.5s → evaluate timing
The forecaster lets them virtually test all three strategies in 10 minutes, identifying Strategy B as most promising before writing a single line of robot code.
Learning Outcome: Students develop prototyping skills—testing ideas rapidly before committing to detailed implementation. They learn that planning saves time over pure trial-and-error.
Scenario 3: Teaching Velocity-Distance Relationships
Context: Physics class studying kinematics needs concrete examples of distance = velocity × time relationship.
Application: Teacher uses the forecaster to demonstrate relationship interactively:
- Set time = 2s, velocity = 50 → note distance (~24 cm)
- Keep time = 2s, change velocity = 100 → distance doubles (~48 cm)
- Keep velocity = 50, change time = 4s → distance doubles (~48 cm)
Students see that distance is proportional to both time and velocity, and they can verify predictions on physical robots.
Learning Outcome: Abstract physics formula becomes tangible. Students connect classroom equations to observable physical phenomena, strengthening mathematical understanding.
Scenario 4: Battery Voltage Awareness Training
Context: Competition robotics team experiences inconsistent performance. Their robot sometimes completes paths successfully, other times falls short of targets despite identical code.
Application: Mentor uses the forecaster to explain battery voltage effects:
- Demonstration: “Our code says 3 seconds at velocity 50, but velocity represents motor power, not absolute speed”
- Fresh battery (8.4V): Velocity 50 → approximately 12 cm/sec
- Depleted battery (7.2V): Velocity 50 → approximately 10 cm/sec
- Over 3 seconds: 6 cm difference in distance traveled
Team implements battery monitoring and establishes “minimum competition voltage” of 7.8V, ensuring consistent performance.
Learning Outcome: Students understand that real-world robotics involves managing physical constraints like power supply variations. They develop systems thinking about robot-environment interactions.
Code Examples: Practical Implementations
Example 1: Simple Timed Curve
from hub import port
import motor_pair
import runloop

async def gentle_curve():
    motor_pair.pair(motor_pair.PAIR_1, port.A, port.B)

    # Gentle right curve for 2.5 seconds
    # Estimated to travel ~30 cm while curving ~25° right
    motor_pair.move_for_time(motor_pair.PAIR_1, 2500, 30, velocity=50)

runloop.run(gentle_curve())
Use Case: Navigating around a single obstacle when approximate curve suffices.
Example 2: Square Path Loop
from hub import port
import motor_pair
import runloop

async def square_pattern():
    motor_pair.pair(motor_pair.PAIR_1, port.A, port.B)

    for side in range(4):  # Four sides of square
        # Move forward for 2 seconds (~24 cm side length)
        motor_pair.move_for_time(motor_pair.PAIR_1, 2000, 0, velocity=50)
        await runloop.sleep_ms(200)  # Brief pause at corner

        # Turn right 90° (approximately 850ms at steering 80)
        motor_pair.move_for_time(motor_pair.PAIR_1, 850, 80, velocity=40)
        await runloop.sleep_ms(200)

runloop.run(square_pattern())
Use Case: Geometric pattern demonstrations, perimeter navigation, returning to start position.
Example 3: Choreographed Sequence
from hub import port
import motor_pair
import runloop

async def dance_routine():
    motor_pair.pair(motor_pair.PAIR_1, port.A, port.B)

    # Forward approach
    motor_pair.move_for_time(motor_pair.PAIR_1, 1500, 0, velocity=60)
    await runloop.sleep_ms(500)

    # Spin clockwise
    motor_pair.move_for_time(motor_pair.PAIR_1, 2000, 100, velocity=60)
    await runloop.sleep_ms(500)

    # Arc left
    motor_pair.move_for_time(motor_pair.PAIR_1, 1800, -40, velocity=50)
    await runloop.sleep_ms(500)

    # Return to start
    motor_pair.move_for_time(motor_pair.PAIR_1, 2000, 0, velocity=-60)

runloop.run(dance_routine())
Use Case: Performance demonstrations, student creativity projects, showcasing robot capabilities.
Troubleshooting: Common Challenges and Solutions
Issue: Robot Travels Different Distance Than Predicted
Possible Causes:
- Battery voltage differs from calibration voltage
- Surface friction varies (carpet vs. tile)
- Wheel wear or deformation
- Motor calibration drift
Solutions:
- Check battery voltage—recharge if below 7.8V
- Recalibrate distance estimates on actual performance surface
- Note: Time-based commands are inherently less precise than degree-based; accept ~10-15% variance
- For critical accuracy, consider switching to move_for_degrees method
Issue: Turn Angles Don’t Match Predictions
Possible Causes:
- Wheel base width in forecaster doesn’t match robot
- Steering creates turn at different rate than predicted
- Velocity affects turn tightness (centrifugal effects)
Solutions:
- Measure and input accurate wheel base width
- Perform test turns at specific steering values, measure actual angles
- Apply correction factor:
adjusted_time = predicted_time × (desired_angle / actual_angle) - Document corrections for future reuse
Issue: Loop Patterns Don’t Close Properly
Possible Causes:
- Accumulated error over multiple segments
- Inconsistent turns (some sharper than others)
- Surface inconsistencies affecting different sides differently
Solutions:
- Accept imperfection—time-based loops rarely close perfectly
- Add periodic recalibration (e.g., align against wall between pattern repetitions)
- For critical closed-path requirements, use degree-based navigation
- Increase pause times between segments to ensure motors fully stop
Issue: Choreography Timing Drifts Over Long Routines
Possible Causes:
- Motor acceleration/deceleration adds unmeasured time
runloop.sleep_ms()pauses accumulate imprecision- Processing overhead varies slightly run-to-run
Solutions:
- Build explicit timing checks into code using
time.ticks_ms() - Synchronize to external events (sound cues, light signals) rather than internal timing
- Accept ~100-200ms drift over 30-second routine as normal
- For precision synchronization, explore external control systems
Frequently Asked Questions
Q: When should I use move_for_time instead of move_for_degrees? A: Use move_for_time when: (1) Timing is more important than position precision, (2) Creating choreographed/synchronized behaviors, (3) Rapid prototyping paths, (4) Teaching time-distance-velocity relationships. Use move_for_degrees when position accuracy matters most.
Q: Why do predictions sometimes differ significantly from actual robot behavior? A: Time-based commands are sensitive to battery voltage, surface friction, and motor characteristics. All predictions assume ideal conditions. Real-world variation of 10-15% is normal and expected.
Q: Can I combine time-based and degree-based commands in the same program? A: Absolutely! Many sophisticated programs use degrees for precision positioning and time for approximate movements or choreography. Choose the best tool for each segment of your path.
Q: How do I synchronize multiple robots using time-based commands? A: Use explicit timing with shared start signal. Example: All robots wait for sound detection, then execute timed sequence simultaneously. Accept that small variations accumulate—perfect synchronization requires advanced coordination techniques.
Q: What’s the shortest reliable time duration? A: Technically 100ms, but very short durations may not allow motors to reach target velocity, creating unpredictable motion. Recommend minimum 500ms for consistent results unless specifically testing rapid responses.
Q: How does steering affect arc length versus straight-line distance? A: Higher absolute steering values create more curved paths. For steering=0 they’re identical (straight line). At steering=±50, arc length approximately 10-15% longer than straight-line. At steering=±90, arc length can be 50%+ longer.
Q: Can I create perfect circles with move_for_time? A: You can create circular arcs! Use high steering (±80 to ±100) and long duration (5-10 seconds). Perfect mathematical circles require precise calibration. Experiment to find steering value that creates desired radius.
Accessibility Considerations
Keyboard Navigation: All controls fully accessible via keyboard—Tab between elements, arrow keys for sliders, Space/Enter for buttons.
Screen Reader Support: ARIA labels describe all interactive elements, announced values update as controls change.
Visual Alternatives: Path predictions accompanied by numeric distance and angle estimates. Users unable to see visualizations receive complete textual descriptions.
Motor Impairment Accommodations: +/- buttons alongside sliders for precise control without dragging. Direct numeric input supported for all parameters.
Cognitive Accessibility: Information layered progressively—basic visualization first, detailed calculations available but not overwhelming. Examples provided for common patterns.
Related LEGO SPIKE Prime Planning Tools
Expand your robotics programming toolkit:
-
LEGO SPIKE Turn Planner: Master precise degree-based turning with clearance visualization and calibration guidance
-
LEGO Wheel Distance Explorer: Understand fundamental wheel rotation-to-distance relationships
-
LEGO SPIKE move Turn Trainer: Learn continuous motion control for sensor-responsive navigation
References and Further Learning
- Official LEGO Education SPIKE Prime API documentation
- “Time-Based vs. Position-Based Control” - Robotics Education Journal
- FIRST LEGO League choreography programming guides
- Gray-wolf Tools complete robotics collection
Ready to forecast your robot’s path with confidence? Start experimenting with timed movements now, and discover the creative possibilities of choreographed robot behaviors.